

Learn Photography
I'm so glad you found your way onto my Photography Basics series. I have taught the basics of photography to millions of photographers around the world through Improve Photography, so I know just exactly how difficult it can seem to learn the basics of photography.
My goal is to make this Photography Basics series the absolute simplest way to learn the basics of photography.
I hope you'll love this series because of what you learn here, and I hope you'll join the Improve Photography community after you get your feet wet with the photo basics. Let's get going.
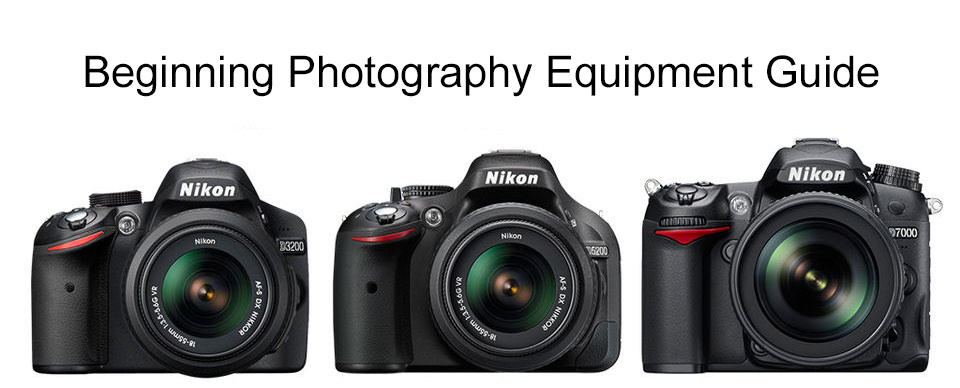
Basic Equipment You'll Need
You can do photography with even the simplest of cameras, but the principles that I'd like to teach are for people who want to learn to use a DSLR camera, a micro four-thirds camera, or at least a camera that allows the photographer to adjust the shutter speed, aperture, and ISO. Even some pocket cameras have this functionality.
Now that you have your camera, it is time to learn exposure.
Exposure–the most basic element of photography
When photographers talk about “exposure,” we simply mean the brightness or darkness of a photo. It seems simple enough to take a photo that is correctly exposed (has the proper brightness or darkness), but in reality it can be quite the trick.To help get the right exposure with your camera settings – you can download this Camera Settings Cheat Sheet guide.
If you're reading this Photo Basics series, it probably means that you currently shoot on the “Green mode” of your camera–or the automatic setting. That means the camera entirely controls the exposure of the picture. When you shoot on automatic mode, your camera selects an aperture setting, an ISO setting, a shutter speed, and a host of other settings for you.
Automatic can be handy, but it also seriously limits your creative ability to make a beautiful picture.
Want proof that automatic isn't the best way to shoot? Check out the picture below. On the left, the picture was taken entirely in automatic mode on a Canon Rebel DSLR. That might look okay to you… until you see the picture on the right. Same sunset. Same camera. The pictures were taken only seconds apart. The difference? The picture on the right was taken using manual exposure.

Which photo do you prefer? Probably the picture on the right! By choosing a creatively dark exposure, the rich colors in the sunset were allowed to shine through.
However, technically, the photo on the left is “correct,” and the photo on the right is “incorrect.” The camera saw through the lens and tried to expose the bird so that it wouldn't become a shadow. To me, the photo was not about exposing the bird properly, but exposing the sunset properly. The bird was just a nice shape to include in the foreground. This is exactly why you must learn exposure–because sometimes the “scientifically correct” exposure is not the best exposure to make the photo look how you want it to.
Aperture
So suppose you take a picture that is too bright. How do you fix it? Simply choose a smaller aperture. Simple! Aperture sizes are measured by f-stops. A high f-stop like f-22 means that the aperture hole is quite small, and a low f-stop like f/3.5 means that the aperture is wide open.The aperture is a small set of blades in the lens that controls how much light will enter the camera. The blades create a octagonal shape that can be widened (we photogs call it shooting “wide open”), or closed down to a small hole. Obviously, if you shoot with the aperture wide open, then more light is allowed into the camera than if the aperture is closed down to only allow a tiny hole of light to enter the camera.

Let's test your knowledge to make sure you have it down. If you take a picture and it's too dark at f/5.6, would you choose a lower f-stop number or a higher one? Yep! You'd choose a lower f-stop number, which opens up the aperture to let in more light. The size of the aperture controls more than the brightness or darkness of the picture, though.
The aperture also controls the depth-of-field. Depth-of-field is how much of the picture is sharp, and how much is blurry. If you want to take a picture of a person and have the background be blurry, you'd use shallow depth of field. If you want to take a picture of a sweeping mountain vista, you'd want to use a small aperture size (high f-stop number) so that the entire scene is in sharp focus. If you, like me, are more of a visual learner, then I think this graphic will help solidify the information about aperture. Take a minute and make sure you understand this info before moving on.
Shutter Speed
The shutter is a small “curtain” in the camera that quickly rolls over the image sensor (the digital version of film) and allows light to shine onto the imaging sensor for a fraction of a second. The longer the shutter allows light to shine onto the image sensor, the brighter the picture since more light is gathered. A darker picture is produced when the shutter moves very quickly and only allows light to touch the imaging sensor for a tiny fraction of a second. The duration that the shutter allows light onto the image sensor is called the shutter speed, and is measured in fractions of a second. So a shutter speed of 1/2 of a second will allow more light to touch the image sensor and will produce a brighter picture than a shutter speed of 1/200 of a second. So if you're taking a picture and it is too dark, you could use a slower shutter speed to allow the camera to gather more light.

Imagine me sitting here at my computer desk waving to you (you don't have to imagine very hard if you just look at the picture on the right).If you take a picture of me with a shutter speed of 1/30th of a second, then my hand will have moved in the time that the camera is recording the picture. To get rid of the blur, you need to increase the shutter speed to around 1/320th of a second. At this speed, my hand is still moving, but the camera takes the picture so fast that my hand travels only such a small distance that it is not noticeable in the picture.Just as the aperture affects the exposure as well as the depth-of field, the shutter affects more than just the exposure. The shutter speed is also principally responsible for controlling the amount of blur in a picture. If you think about it, it makes sense that the shutter speed controls how much blur is in the picture.
This is a Great Place to Learn Photography
This free Digital Photography Course offers free photography lessons and tutorials ranging from the basics of digital camera, optics, lenses, photo editing, and more. Learn photography with any one of courses packed full of photography tips and advice, built for the novice and professional alike. This is the perfect place to learn photography and for those wanting to know more about digital photography.
Where to Start when Learning Photography
One of the biggest challenges most beginner photographers have is not knowing where to start. Newer cameras offer endless settings and the terminologies used by experienced photographers like ambient light, white balance, bokeh, and depth of field can be confusing to newbie’s. Chances are you have a good eye and you have a good idea of how your pictures should look, but they just aren’t coming out the way you wanted (or the way you envisioned they would).
Start with the Basics
Because your eyes constantly make everything APPEAR normal, you now need to learn how the cameras digital sensor and lenses record light, scenes, and color. Then, once you have that well ingrained and almost second nature, you need to learn how those different things render on digital cameras, online, and in print. Few of us realize how powerful the mind is in blocking out what we don’t want to see AND how well we automatically can correct bad lighting without even realizing it.
Until we learn those important lessons, we will not have the knowledge or skills to MAKE photographs the way WE want them.You can spend a small fortune on courses that will get to the fun part right away. Courses that give you assignments to take photos you aren’t interested in and overwhelm you with a lot of hi-tech phrases. They’ll teach you how to talk the talk. HOWEVER, until you learn the basics your castle will be built on sand.
We have created a course that is simple and quick. It is designed to be easy-to-understand yet full of solid information. It will provide the basics YOU MUST learn, and then allow you to go off to any specific subject you have any interest in. Each of these special subjects will add more to the basics, offer photographs and other visual aids to illustrate the point, and pass on tips and tricks to help you.
Technology and Requirements
- Camera – any camera will do but we focus mostly on DSLR’s so that you can change the shutter speed and aperture settings. Learn more about DSLR Cameras
- Editing Software – software such as Adobe Lightroom, Adobe Photoshop, Gimp, Etc.
- Tripod – To help your camera focus better and so you don’t have to worry about shaking. See Tripod for more information on tripods(stand)
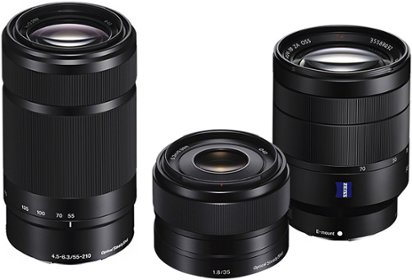
- Camera Lens – Most DSLR’s come with a kit lens of 18-55mm, this will work just fine. See Photographic Lenses to learn more about lenses
- Memory Card Reader – to quickly and more efficiently move pictures from your camera to your computer.
Photography Tips
We have a few tips that will immediately help you learn photography:
- Read the user manual for you camera!!!!
- Learn all of the available settings on your camera
- Have plenty of Memory Cards to take Lots of Shots
- Photograph what you love to Photograph
- Start with basic exposures and Focus on Composition
- Practice, practice, practice!!!


No comments:
Post a Comment